If you have installed ROS in linux, I think the first thing you will stumble upon is the Ubuntu Linux Distro. ROS has a support tier based on the operating systems. Currently Ubuntu is their only Tier 1(best supported) distribution. I like Ubuntu but having a flexibility hurts no one, right? Over the year using different linux distribution, I have settled on Gentoo (a source distributed, compile on install time based operating system). There are a lot of things I like about Gentoo, but lets not get that over here. Simply, I like to have flexibility to develop ROS2 application without being constrained to a specific environment.
Build From Source
I think this is the obvious route everyone would take if they want to install ROS2 on any other unsupported platform. I did it when I was using Debian Linux. There are some reasons I would not recommend doing this.
- ROS is a dependency nightmare. If you want to stay cutting edge like me then there might be several package that are too recent for the ROS packages.
- Packages may not be supported in the distro you are using.
- Keeping track of all the dependencies and installing them manually is a chore.
- You might not want to clutter you /usr/local directory.
Containers
Containers are a awesome technology, they let you run application in an isolated environment while sharing the resources of the system. Containerization is matured enough to run graphical application. This allows us to run GUI applications like Gazebo, RViz from inside the container in the host environment. This all is awesome but automating everything would make a lot more sense. Usually, you need to create your own containerfile and maintain it. Otherwise, you could utilize some community maintained ROS container. You would not probably do so either because, they packages you want maybe different. And in this containerized workflow we are not going to install anything. We want the cloud to install all the dependencies for us and deliver a containerized environment.
CI/CD with Github Actions
Updating packages on your system takes a lot of time. I bet when you ran
sudo apt update && sudo apt upgrade
you will be left with dozens of packages needing update and taking in your precious time.
Well you can offload everything on the cloud. We will make a simple containerfile that checks in the desired ubuntu version and installs the necessary packages. An example is shown below.
Containerfile for ROS2 on Ubuntu 24.04LTS
FROM docker.io/library/ubuntu:24.04 AS base
ARG ROS_DISTRO="jazzy"
ENV DEBIAN_FRONTEND=noninteractive
# Install ROS
RUN apt-get update && apt-get upgrade -y

RUN locale

RUN apt-get install -y \
    curl \
    gnupg2 \
    lsb-release \
    locales \
    usbutils

RUN locale-gen en_US en_US.UTF-8
RUN update-locale LC_ALL=en_US.UTF-8 LANG=en_US.UTF-8
RUN export LANG=en_US.UTF-8
RUN locale

RUN apt install software-properties-common -y
RUN add-apt-repository universe -y

RUN curl -sSL https://raw.githubusercontent.com/ros/rosdistro/master/ros.key -o /usr/share/keyrings/ros-archive-keyring.gpg

RUN echo "deb [arch=$(dpkg --print-architecture) signed-by=/usr/share/keyrings/ros-archive-keyring.gpg] http://packages.ros.org/ros2/ubuntu $(. /etc/os-release && echo $UBUNTU_CODENAME) main" | tee /etc/apt/sources.list.d/ros2.list > /dev/null

RUN apt update && apt upgrade -y

RUN apt install -y tzdata && \
    ln -fs /usr/share/zoneinfo/Asia/Kathmandu /etc/localtime && \
    dpkg-reconfigure --frontend noninteractive tzdata

RUN echo ${ROS_DISTRO}

RUN apt install ros-${ROS_DISTRO}-desktop -y

RUN apt install ros-dev-tools -y

# install navigation2
RUN apt install ros-${ROS_DISTRO}-navigation2 -y
RUN apt install ros-${ROS_DISTRO}-nav2-bringup -y

# install ros2 control
RUN apt install ros-${ROS_DISTRO}-ros2-control -y
RUN apt install ros-${ROS_DISTRO}-ros2-controllers -y

# install support for oak-d camera
RUN apt install ros-${ROS_DISTRO}-depthai-ros -y

# install support for realsense camera
RUN apt install ros-${ROS_DISTRO}-realsense2-camera -y
RUN apt install ros-${ROS_DISTRO}-realsense2-camera -y
RUN apt install ros-${ROS_DISTRO}-moveit -y
RUN apt install ros-${ROS_DISTRO}-rmw-cyclonedds-cpp -y

# add ros2 to bashrc in etc
RUN echo "source /opt/ros/${ROS_DISTRO}/setup.bash" >> /etc/bashrc
Installation Instruction taken from the Official ROS2 Humble guide
We don't want to run this every-time to update our ros packages. We will utilize a Github Workflow to do this for us automatically.
A reference workflow is provided here.
Systemd Quadlet
Docker Compose is awesome but I like to utilize open-source toolchain in my workflow if they are available. Systemd provides a mechanism to run containers on boot automatically with Quadlets. Quadlet files are similar to a systemd file but not recognized by systemd, podman needs to generate systemd files associated with every container to manage it with systemd. The latest version of systemd recognizes the quadlet files and autogenerates the systemd service file if the quadlets are defined on the default quadlet location.
Setting up systemd-quadlet
For every container you want to spin up, create a systemd quadlet container file in
$HOME/.config/containers/${container_name}.container
with the following contents
[Unit]
Description=ROS2 Container for developing ROS2 applications

[Container]
Annotation=run.oci.keep_original_groups=1
AutoUpdate=registry
ContainerName=ros2
Environment=SHELL=bash
Environment=HOME=%h
Environment=container=podman
Exec=--verbose --name %u --user %U --group %G --home %h --init "0" --nvidia "1" -- " "
Image=ghcr.io/krishbin/ros2-container:latest
HostName=ros2.%l
Label=manager=distrobox
Network=host
PodmanArgs=--entrypoint /usr/bin/entrypoint
PodmanArgs=--ipc host
PodmanArgs=--pid host
PodmanArgs=--privileged
PodmanArgs=--security-opt label=disable
PodmanArgs=--security-opt apparmor=unconfined
Ulimit=host
User=root:root
UserNS=keep-id
Volume=/:/run/host:rslave
Volume=/tmp:/tmp:rslave
Volume=/usr/bin/distrobox-init:/usr/bin/entrypoint:ro
Volume=/usr/bin/distrobox-export:/usr/bin/distrobox-export:ro
Volume=/usr/bin/distrobox-host-exec:/usr/bin/distrobox-host-exec:ro
Volume=%h:%h:rslave
Volume=/dev:/dev:rslave
Volume=/sys:/sys:rslave
Volume=/dev/pts
Volume=/dev/null:/dev/ptmx
Volume=/var/log/journal
Volume=/home/%u:/home/%u:rslave
Volume=%t:%t:rslave
Volume=/etc/hosts:/etc/hosts:ro
Volume=/etc/resolv.conf:/etc/resolv.conf:ro


[Service]


[Install]
WantedBy=default.target
- pass the --nvidia "1" flag only if you have an nvidia gpu
- if you don't want to use distrobox, you can delete all the lines corresponding to it
- I am using distrobox because it makes it easy to setup the bare environment in the container to something that resembles you shell, normally the entrypoint is setup for distrobox, you can change it if you want specific commands to run on boot.
- --ipc host allows programs inside the container to communicate with programs outside the container by sharing the same namespace for ipc
- --pid host allows programs run inside the container to be visible to the host system by sharing the pid namespace
- --privileged, --security-opt label=disable allows the container to have access to usb devices and gpu (which are normally restricted for a container)
- UserNS=keep-id ensuring files created inside the container match your host user
- we also share most of our runtime complaint volumes like /var/log /etc /dev with the container along with the home directory (which make working with container a lot easier as now you have full access to you project files inside the home of the container)
A keen eye among you should have noticed that this container file is very similar to to systemd service file, expect we have a Container segment.
Here $HOME/.config/containers/systemd is a default quadlet location for the user.
We also have kept a WantedBy in the Install segment to trigger this container by an associated target.
Triggering container states
After creating the file at the quadlet location, you need to generate systemd files. This can be done automatically by systemd. Just run
systemctl --user daemon-reload
This will generate the necessary service file for containers defined in the quadlet location.
ls /run/user/*/systemd/generator

Now you can manage the service with systemd.
Start the container with
systemctl --user start ros2
systemctl --user status ros2
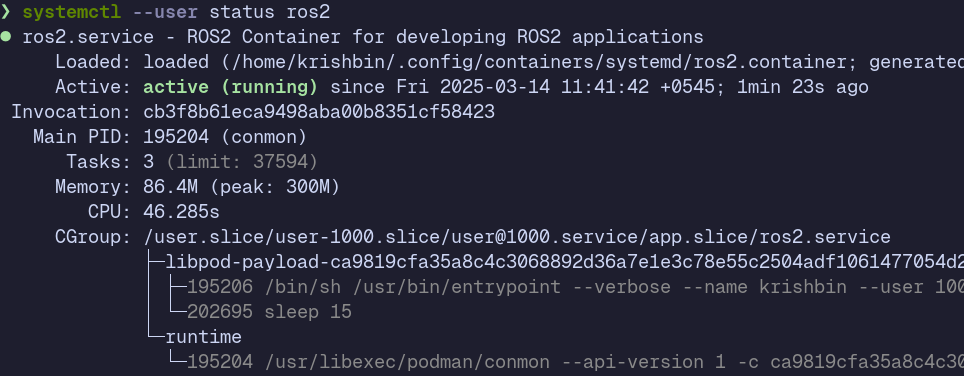

The initial boot may take some time. You will have a fully functional system that shares resources with you system but with dependencies and tools delivered from the container.
Enter you build environment with,
podman exec -it ${container_name/container_id} bash # podman attach ros2
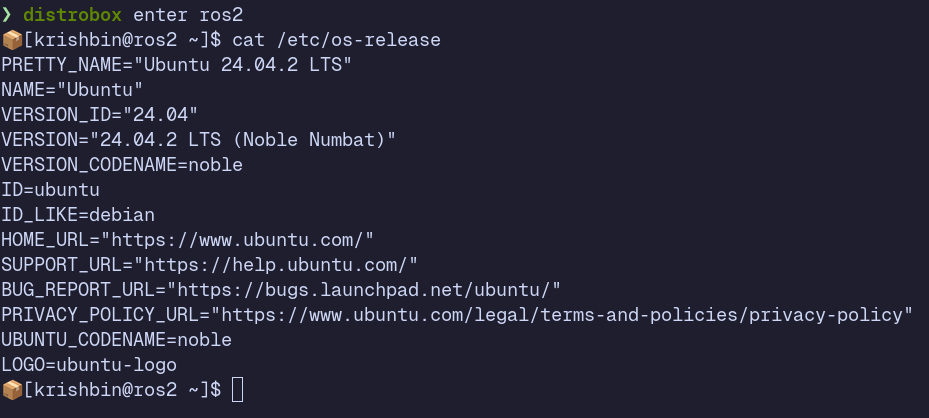
or
distrobox enter ros2